So, you know how I mentioned that quilting was next? I was anxious to finish up the inside zipper pocket, so I skipped ahead. I’ve never done one before, though, so I did a quick internet search, and I followed this one by Vanilla Joy. It worked like a dream!

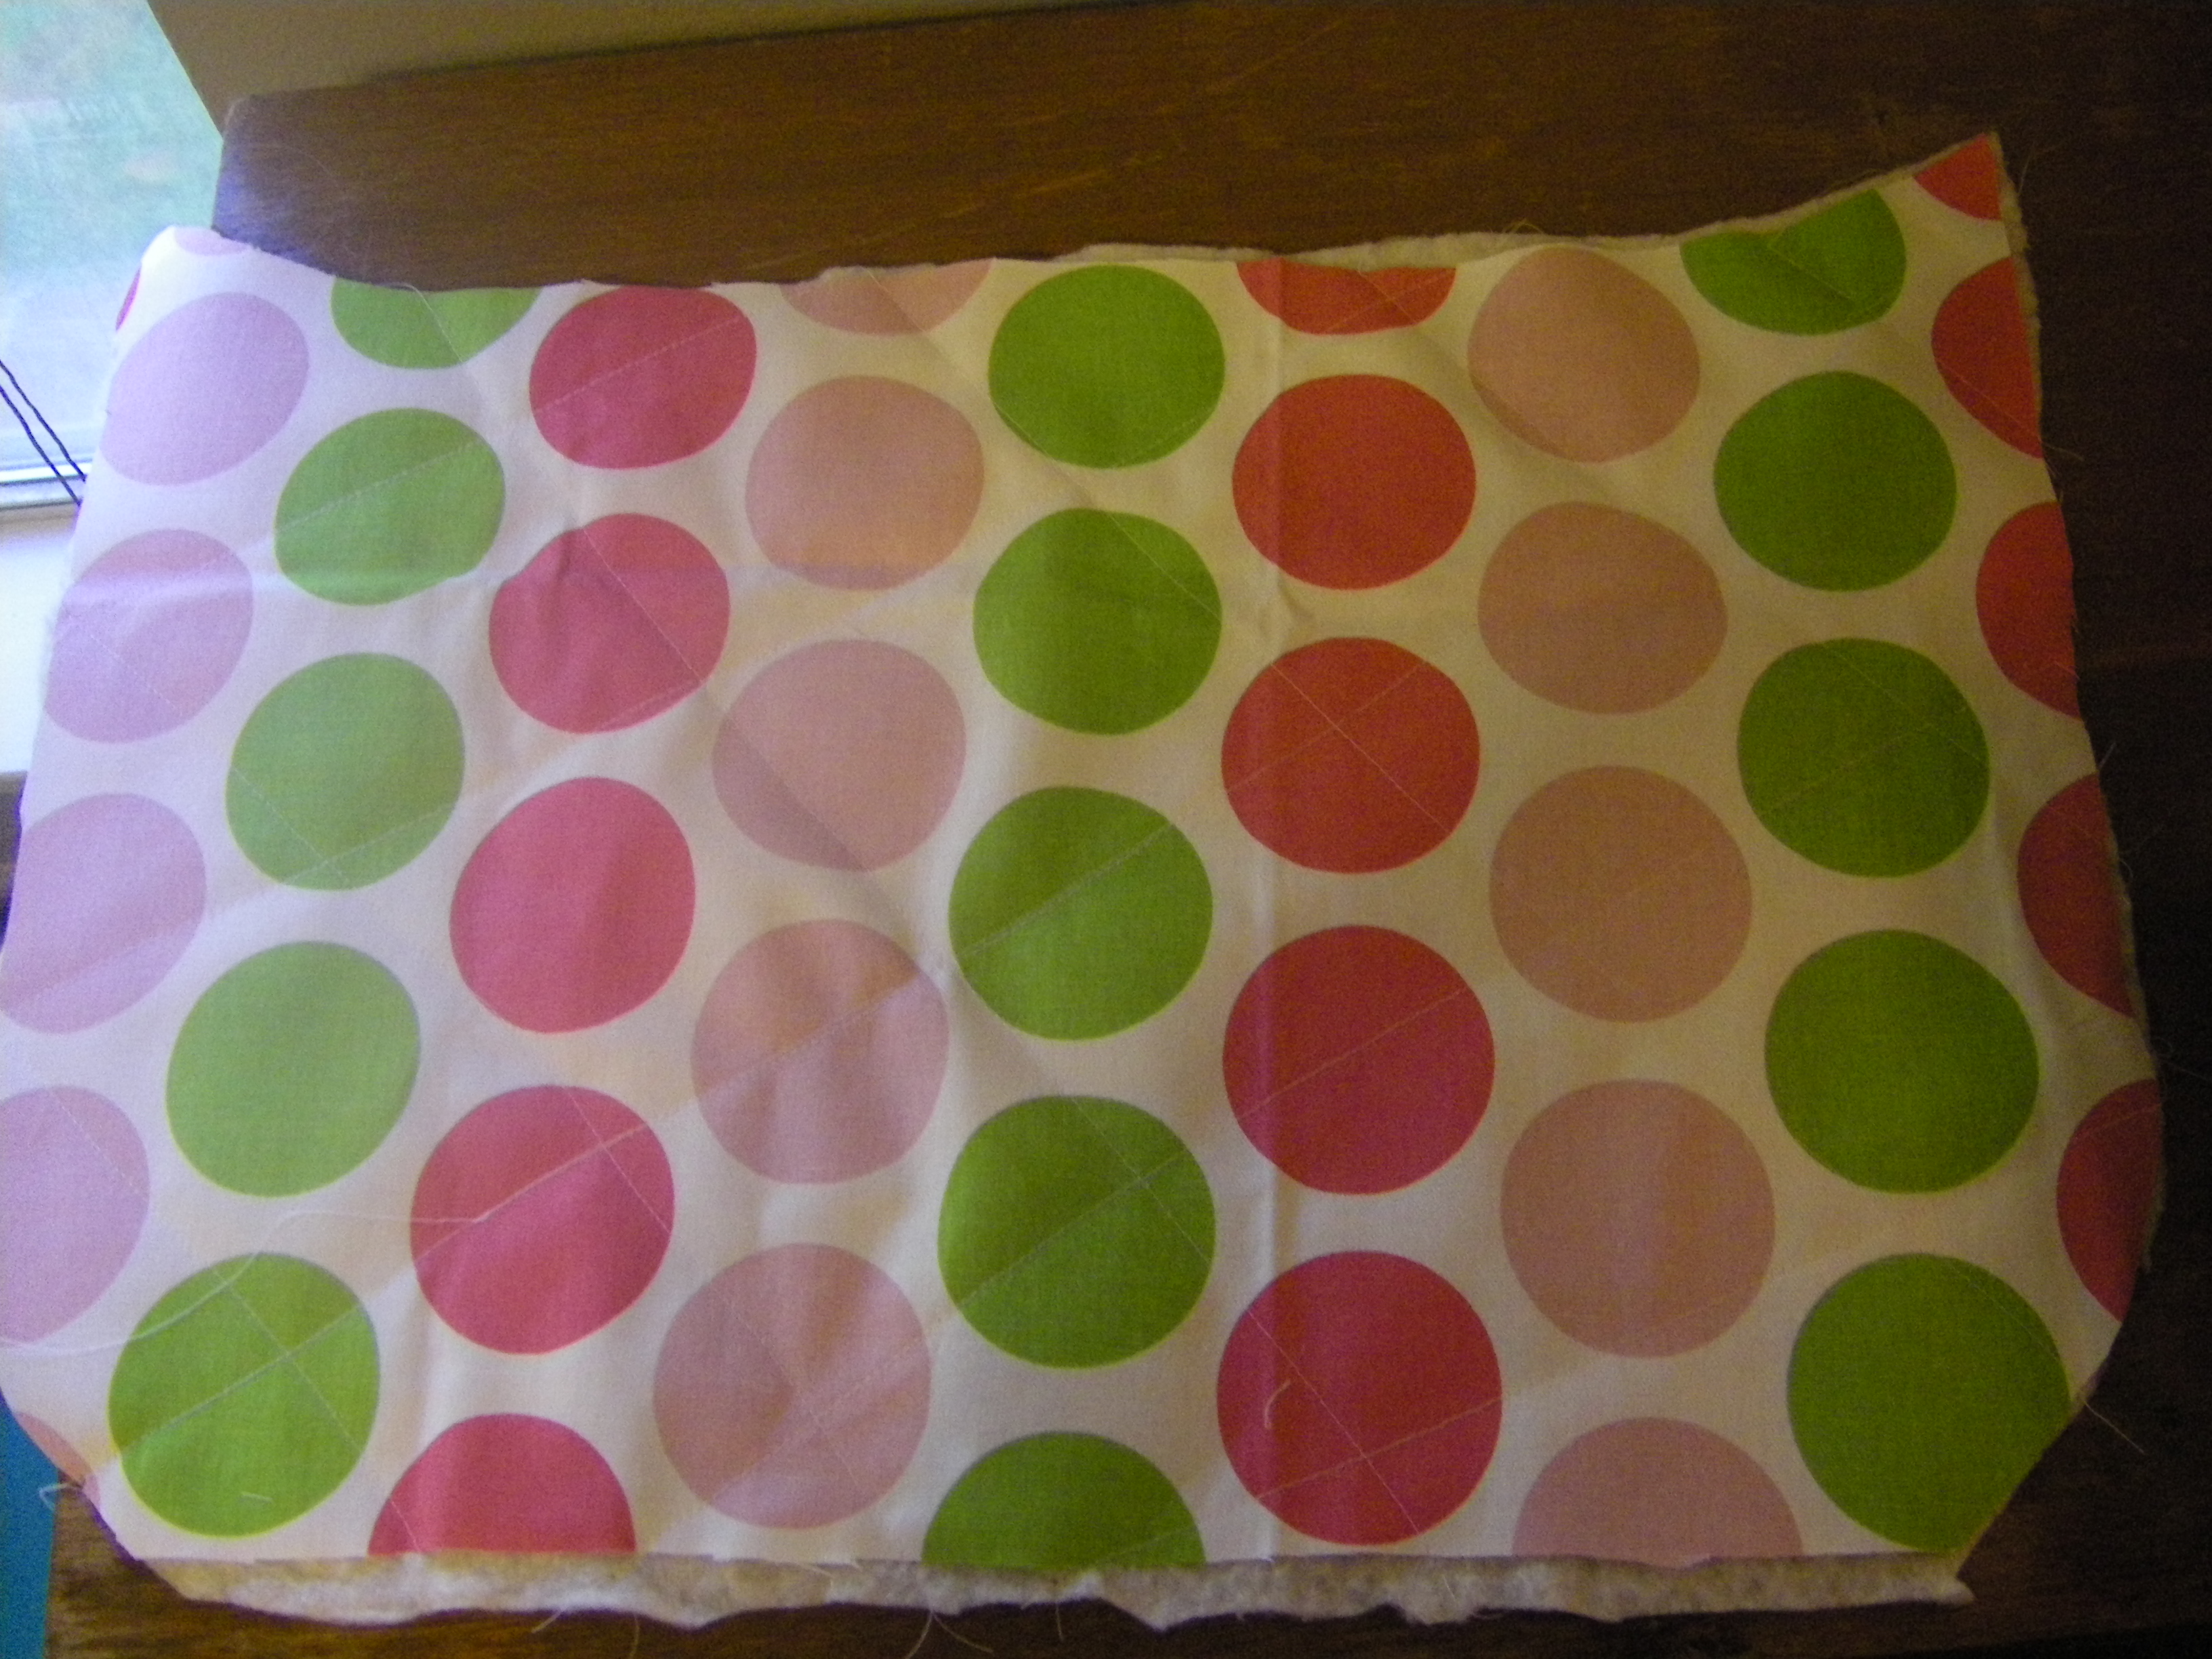
Now, on to quilting. . . Grab your front panel and lay it on top of a piece of batting. You can get all fancy and do some free motion quilting or a pretty design.

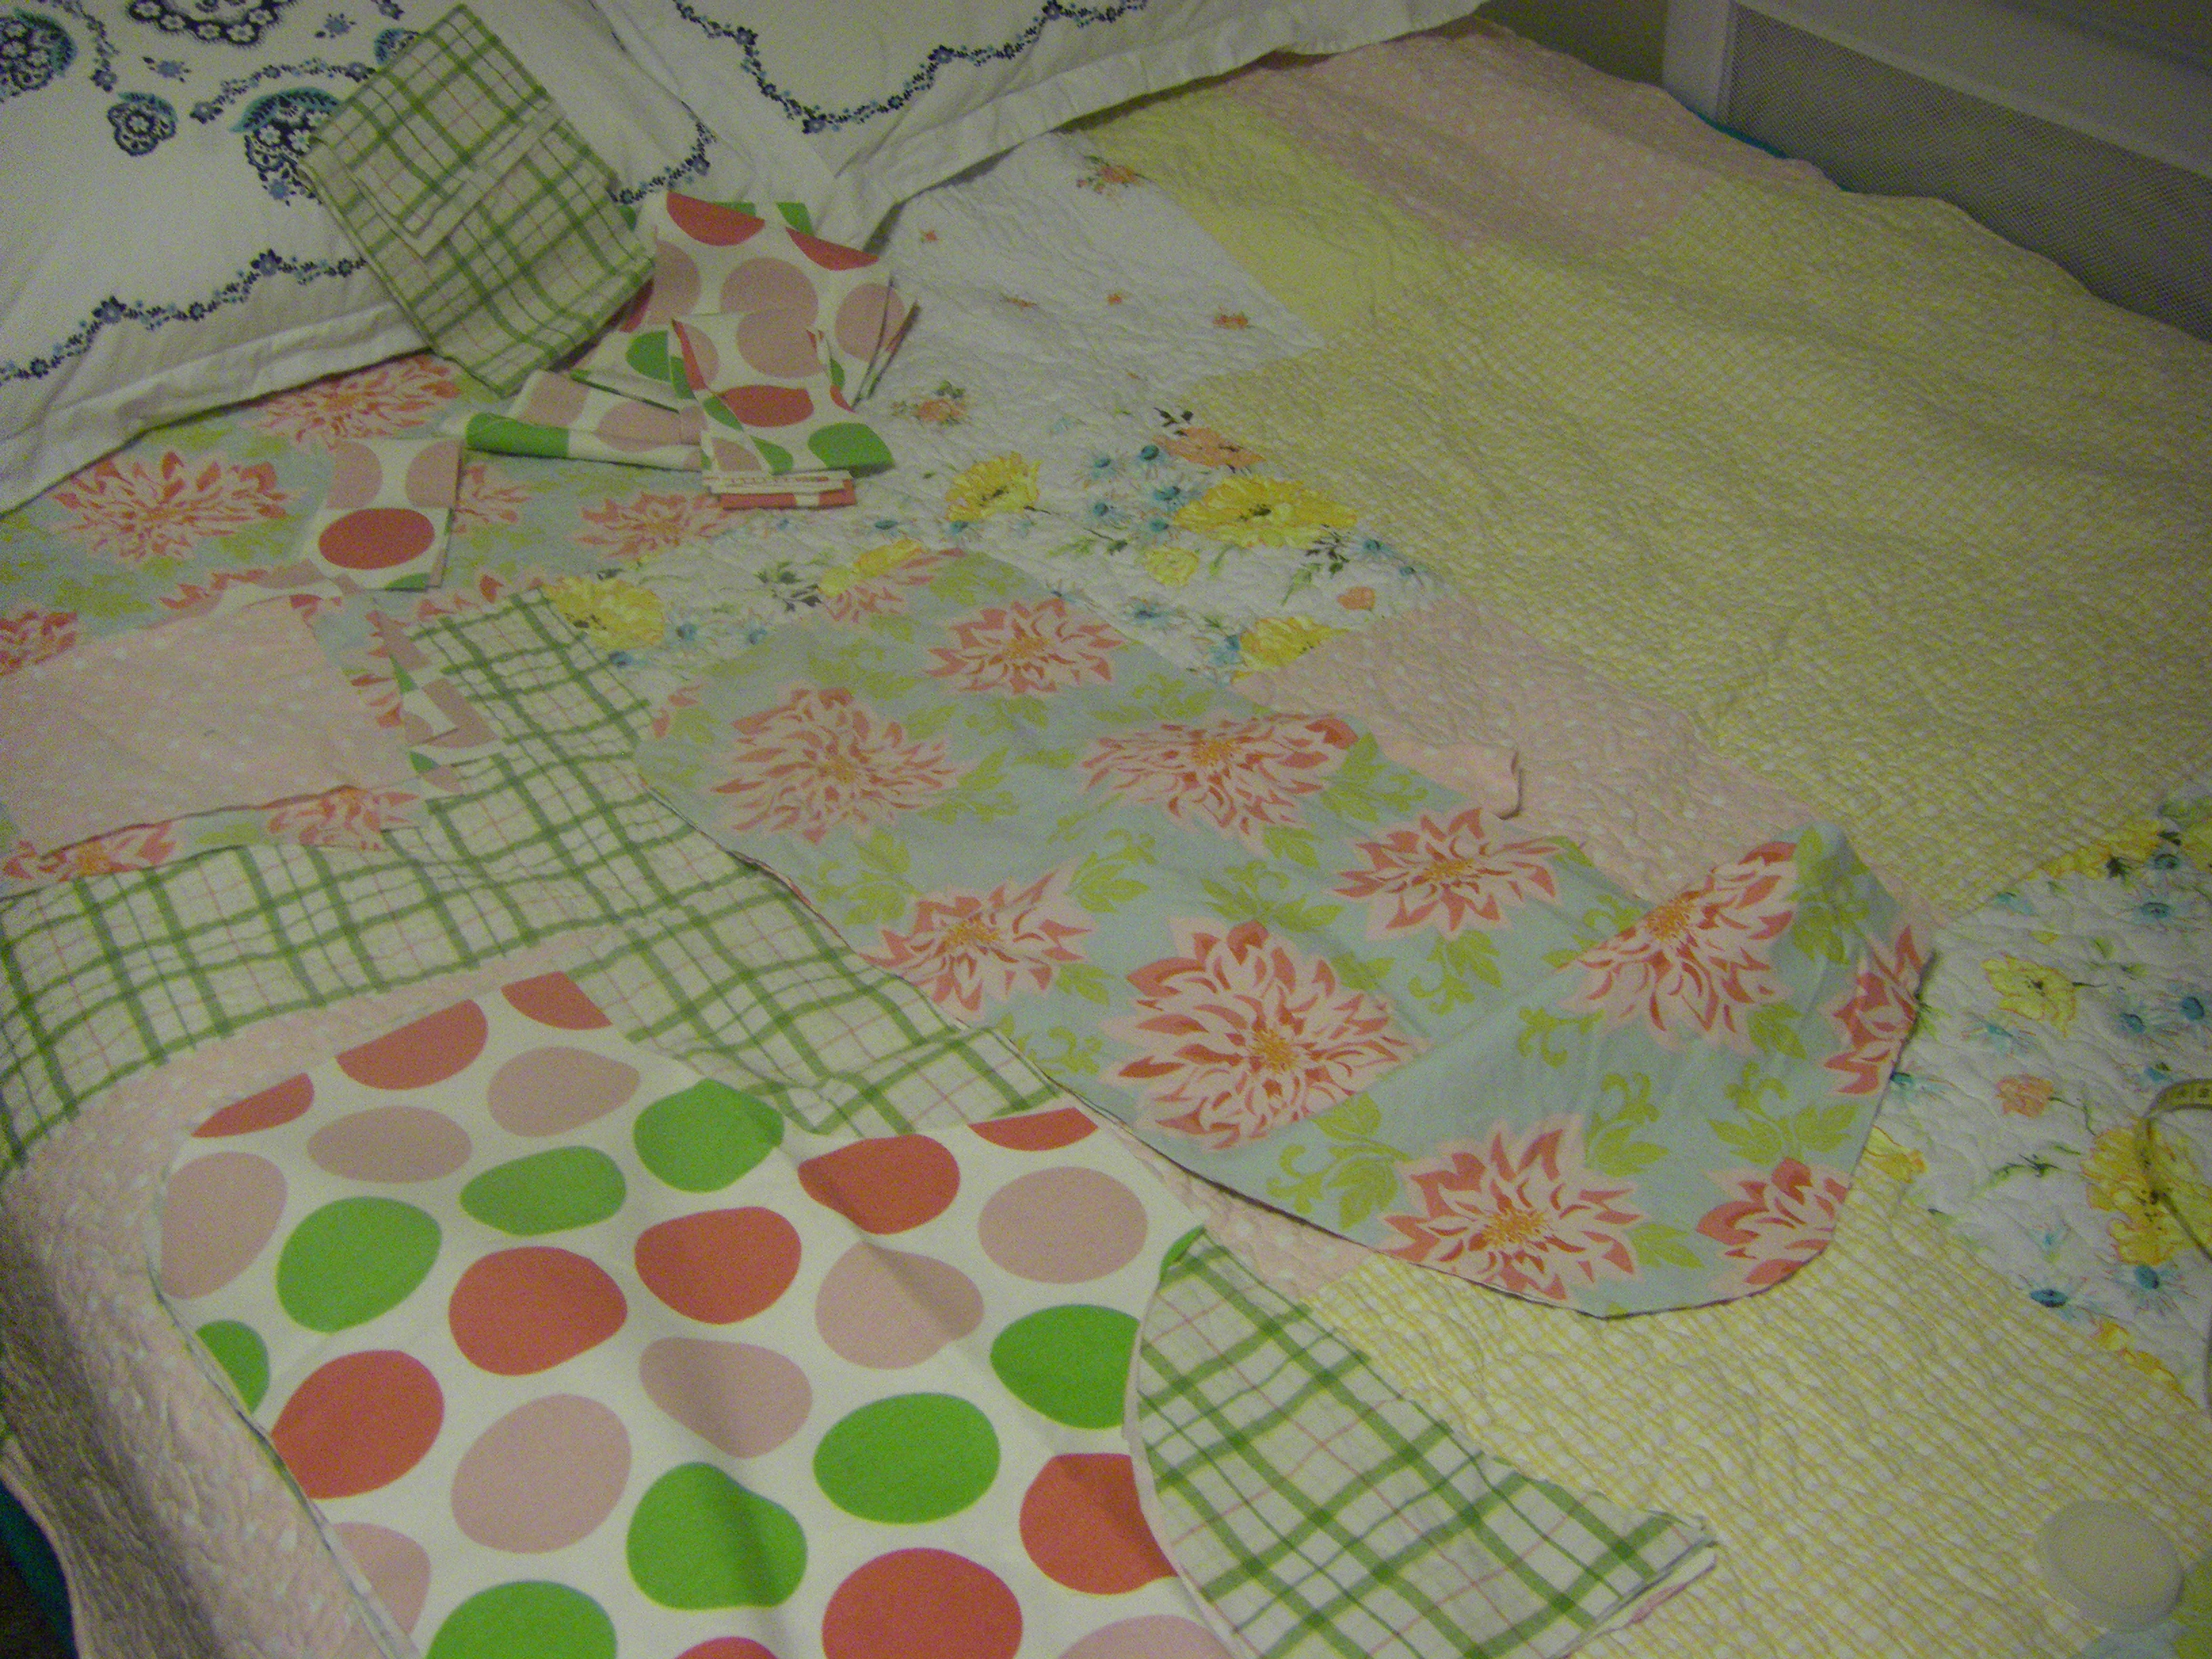
I kept things simple and sewed diagonal lines. As you can see, I wasn’t exactly precise. . . whatever. Most of the front panel is covered by the front pocket, and who notices the back? Right, so after you quilt the front panel, you’ll want to do the same thing on the back.

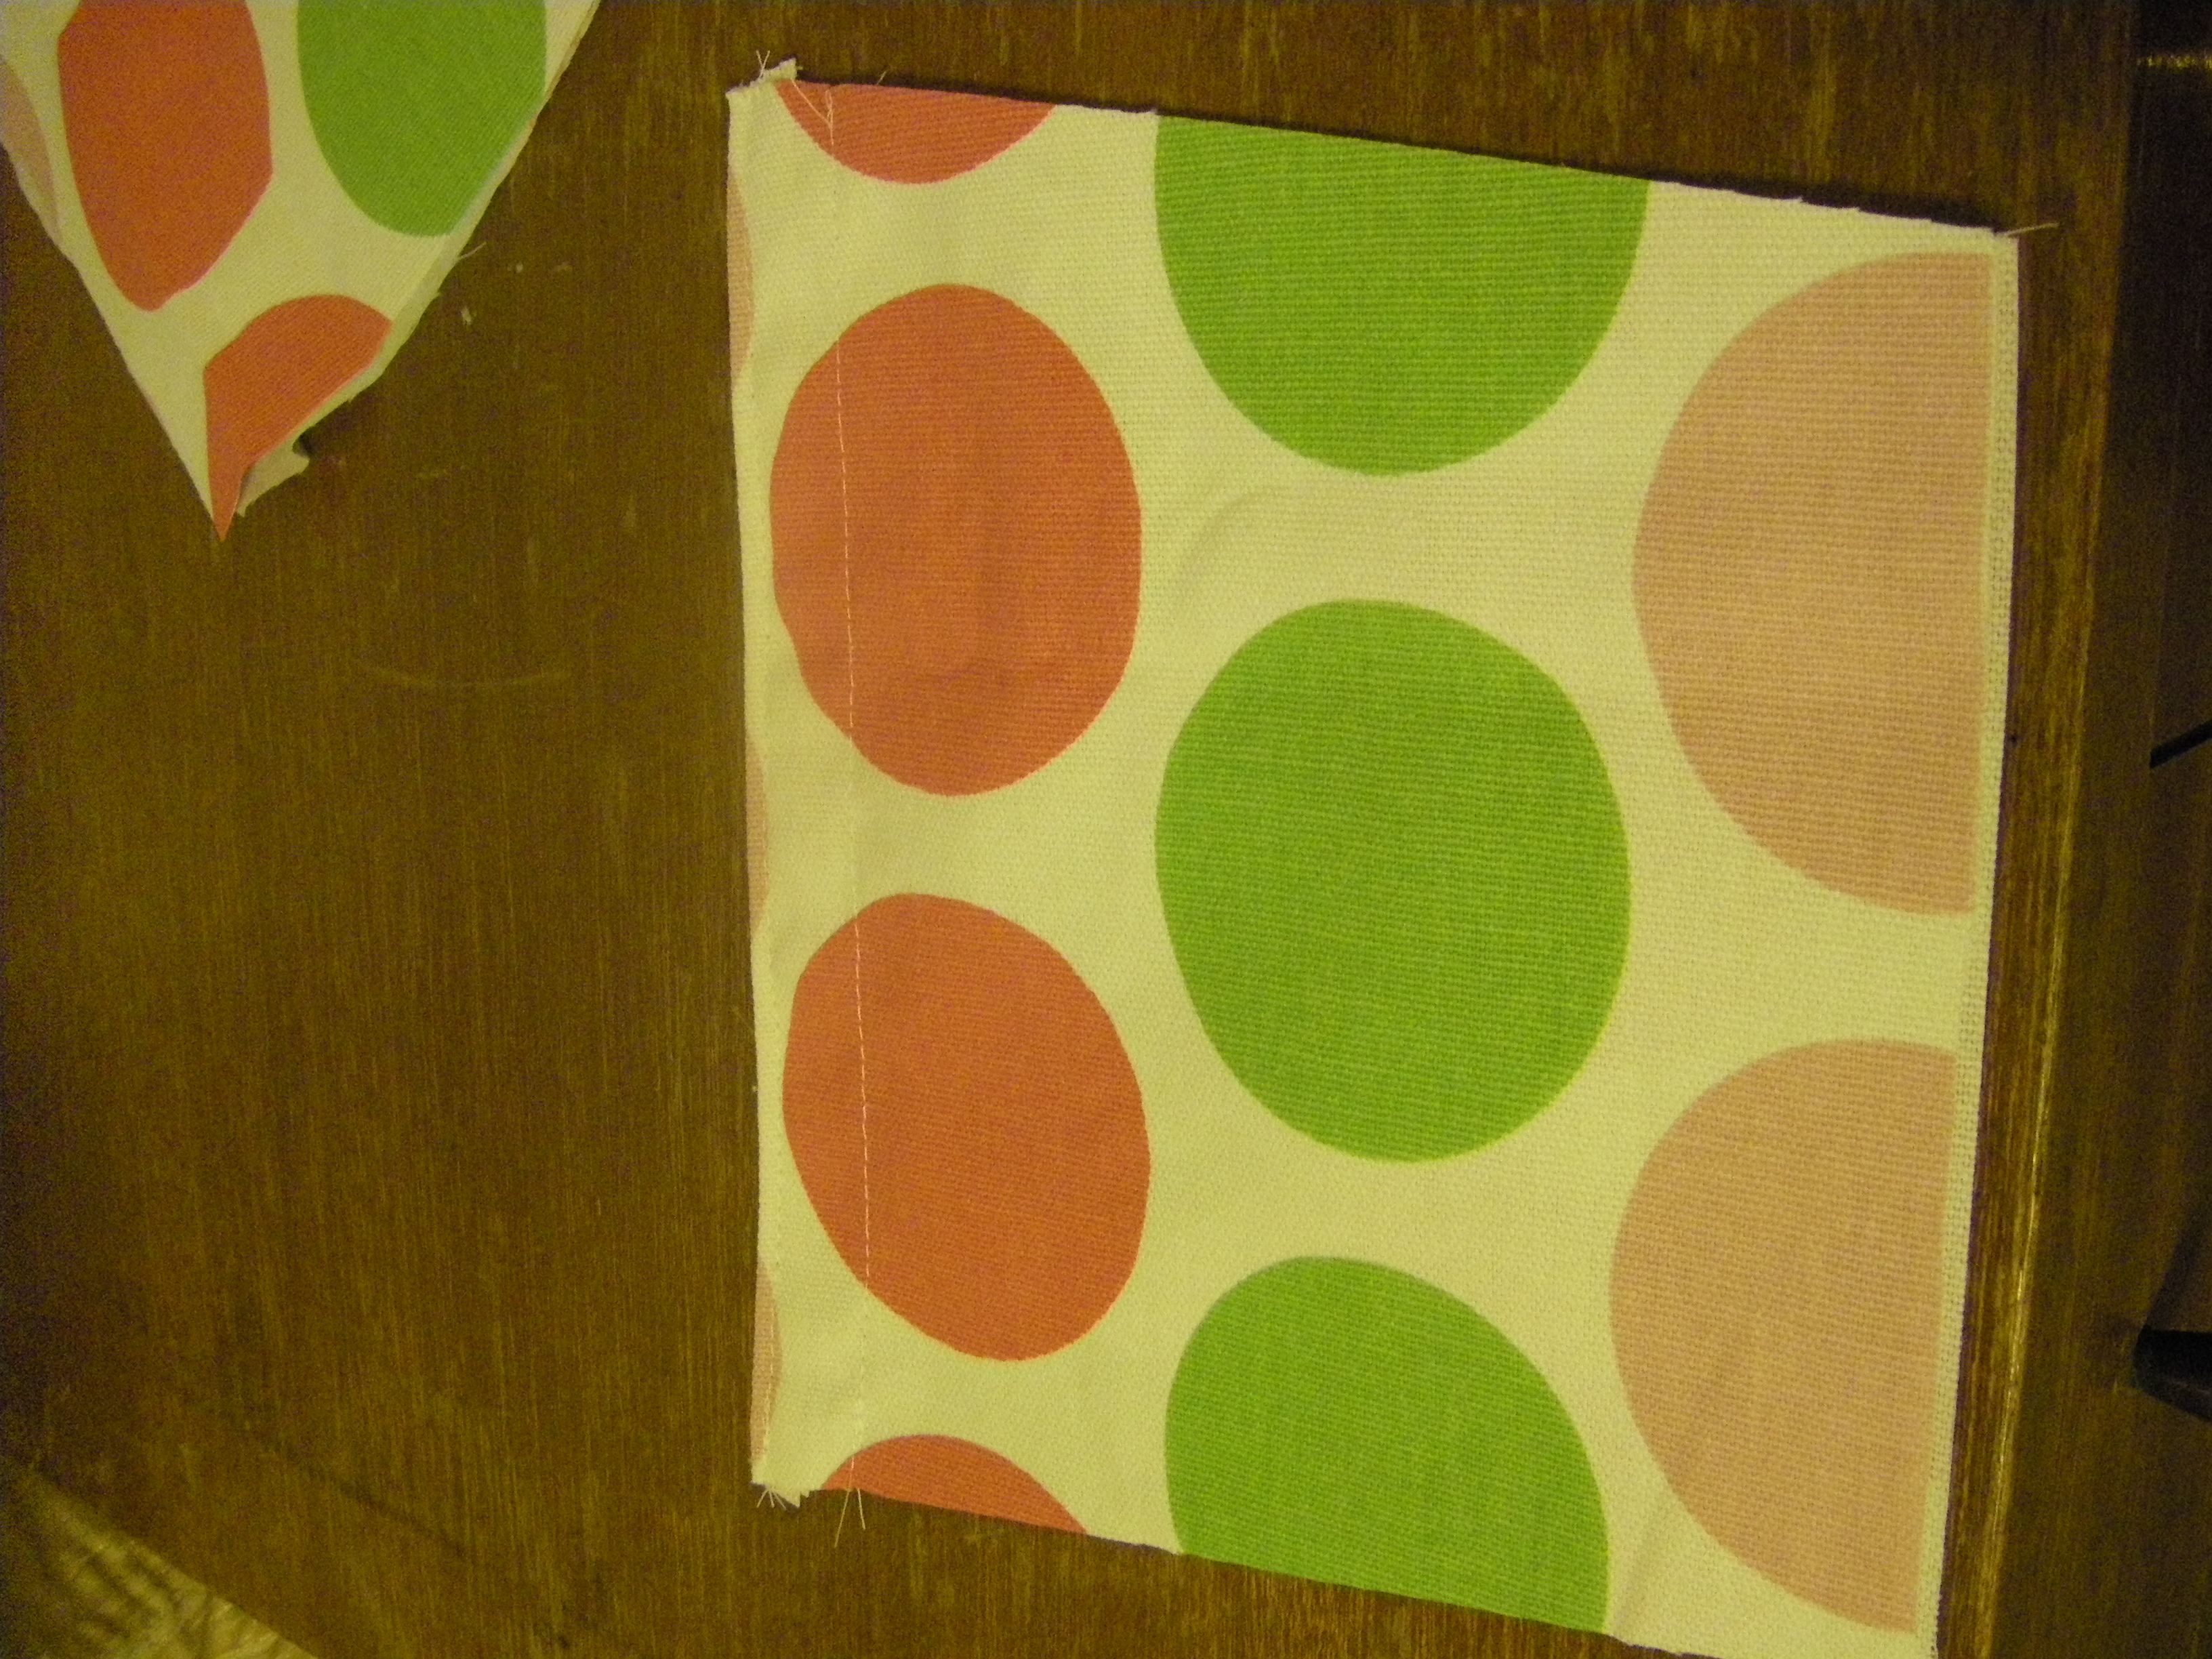
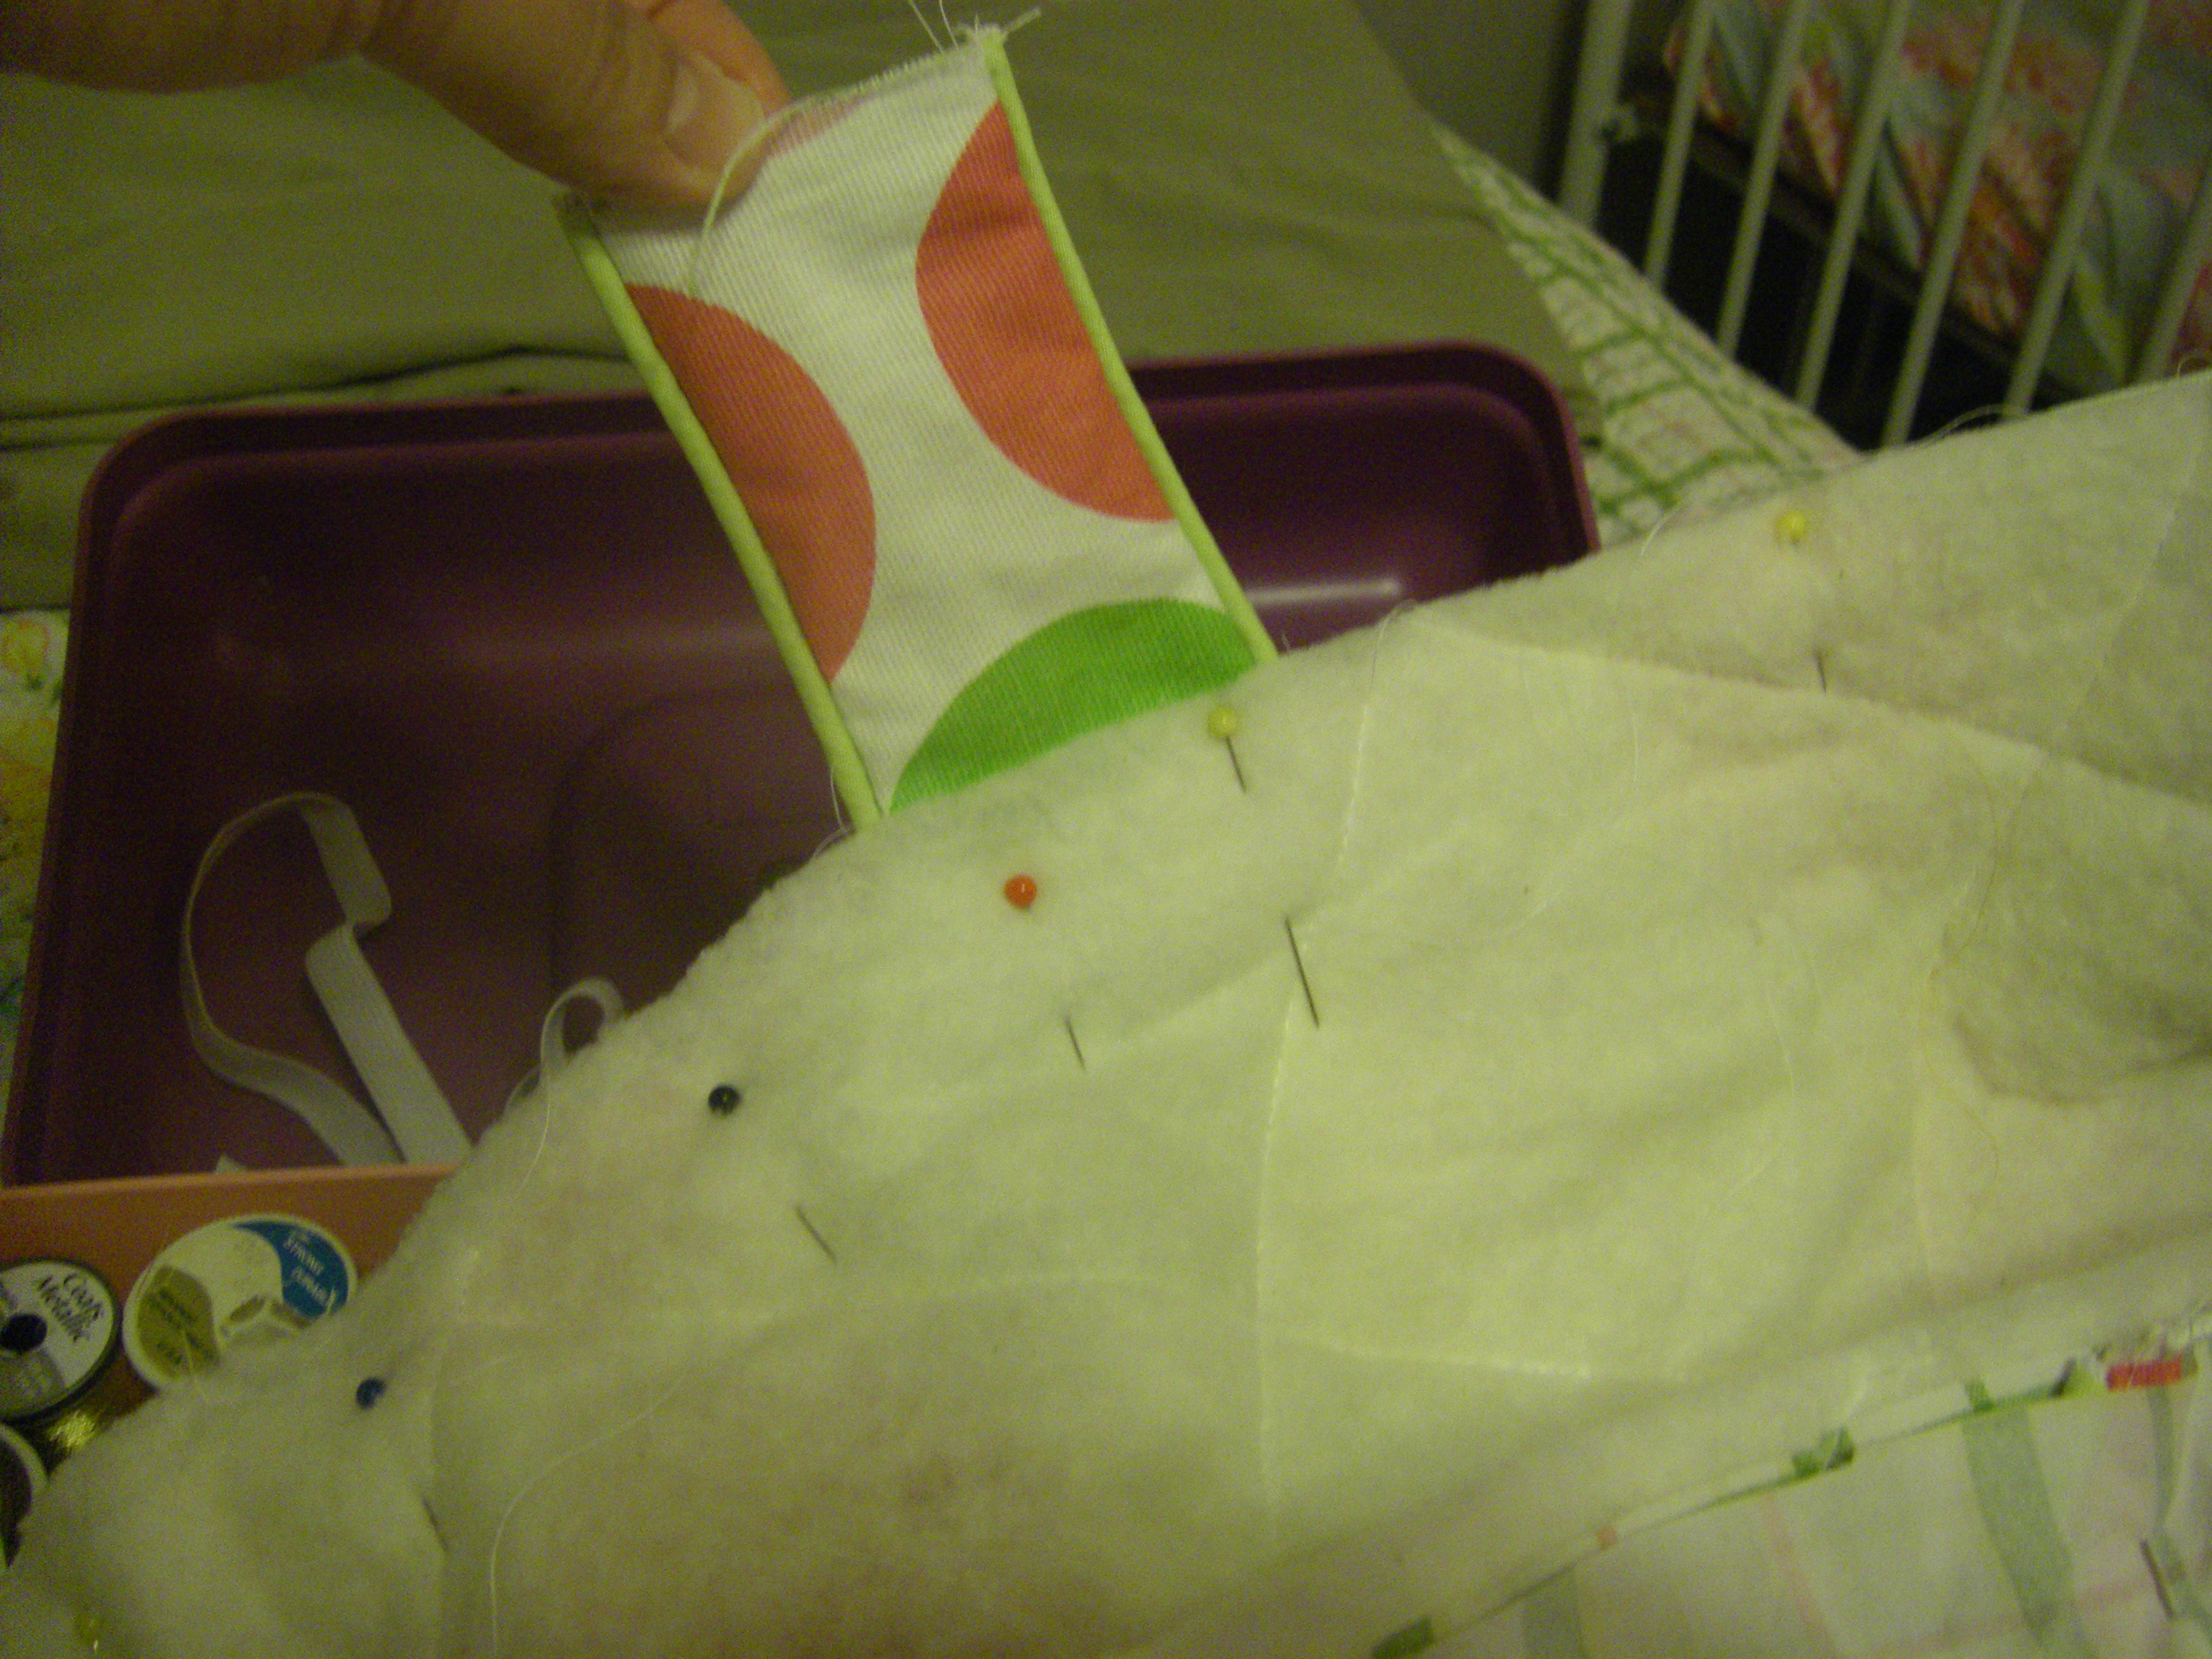
Next, it’s time to work on the inside pocket panels. On the top end of each panel, sew a casing. Take one of your large pieces of elastic and run it through the casing, sewing the casing closed and catching the elastic at each end. Baste with long stitches across the bottom and gather.

Baste the pocket panel to the inside front and back panels. Next, I divided the pocket panel into three pockets. . . divide it into however many pockets work for you.

Next, it’s time to make the side pockets. Lay a pocket and a lining, front sides together, and sew along the top. Flip the lining over, so the fabric is wrong sides together. Topstitch along the seam, and then a bit lower to make a casing for the top of the pocket. Run elastic through the casing, and secure it on each side of the pocket.
Next, flip the fabric back around, so the right sides are together. Sew along the bottom, so the pocket makes a tube. Flip it back right side out. The bottom and top are finished edges, but the sides are still raw edges.

Next, lay the long strip next to your bag and decide on where you will place your pockets. When you have the placement figured out, sew the pockets on the long strip of fabric. (Two are for the outside of the purse, and one is for the inside.)

This is where the tutorial REALLY dissolves. Sigh. It’s a cool picture though, right? Okay, so after the pockets are sewn onto the fabric strip, sew the strip onto the front panel and the back panel. Do the same thing with the lining.

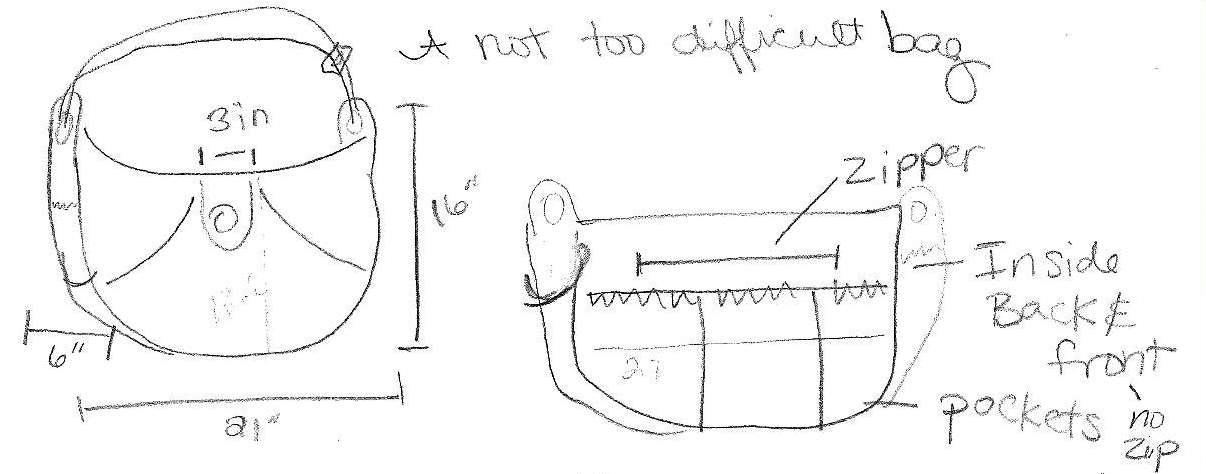
We’re almost done! Next, tuck the outside of the purse into the inside of the purse, right sides together and pin. Don’t forget to pin the flap closure in between the two. I planned it extra long, so there should be a bit sticking out.


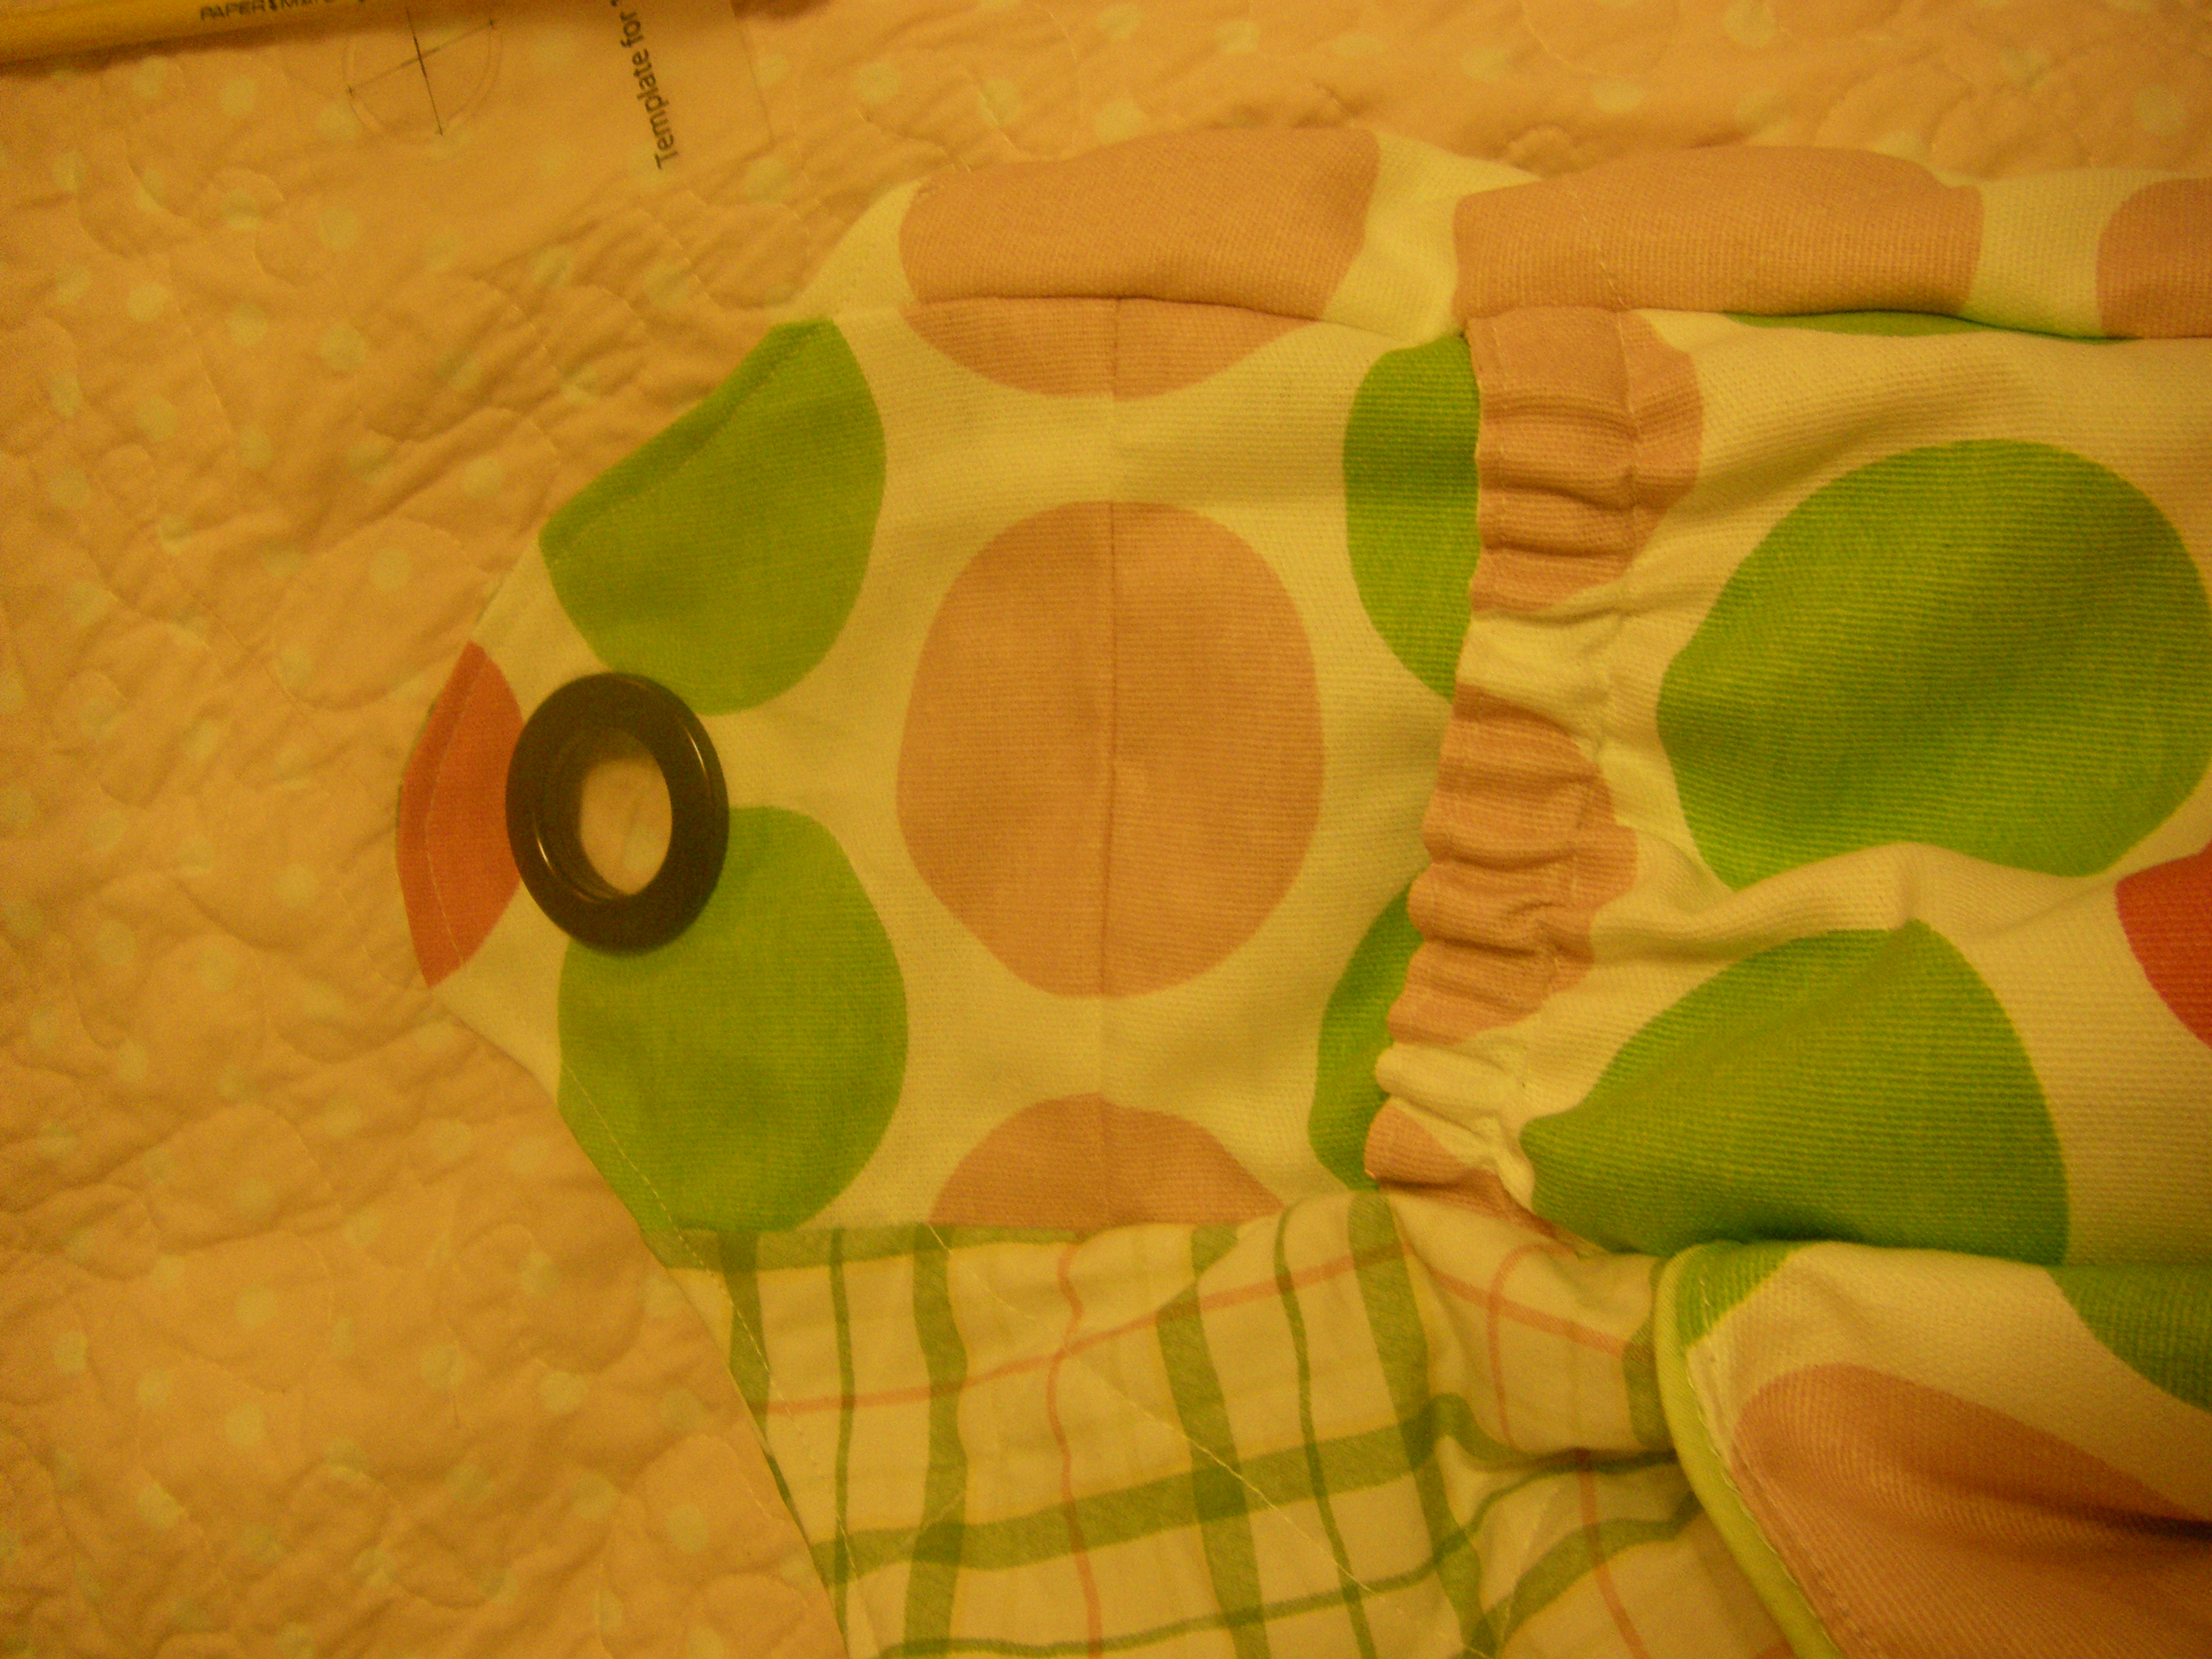
Sew around the edges, leaving about a 6 inch gap. (Important to note. . . when you get to the fabric strips that make up the middle of the bag, you’ll round off the edge.) Turn the bag right side out and sew that bit up. I always just top stitch all the way around. After that’s all done, you just add your grommets. Follow the directions included in your package.

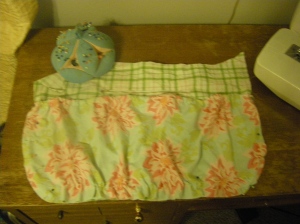
Next, sew both sides of the strap and invert. This time, the fabric was stiffer, so I didn’t add the webbing. Umm, I’m bad with figuring out how to attach the strap with the slide adjuster, so I always have to just look at another bag and figure it out. . . Ha ha ha ha. . . I know that’s no help. But, yeah, attach your strap, and you’re done!